More CategoryLess CategoryMore CategoryLess Category
Tuya Smart Lock User Manual – Z13-TY Fingerprint WiFi Lock
Updated on 10 November 2026
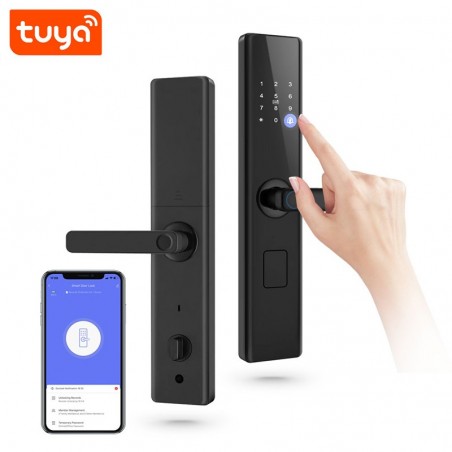
This Tuya smart lock manual explains, step by step, how to set up the Tuya Z13-TY Wi-Fi fingerprint door lock: add the first administrator, register fingerprints, passcodes and cards, connect the Tuya Smart or Smart Life app, switch the voice from Chinese to English and reset the lock.
Many Tuya Wi-Fi locks with a keypad use a very similar menu. If your lock is a different model, the steps are often the same, but always check the manual supplied with your lock.
Fingerprint, passcode, IC card, app, mechanical key
Capacity
Up to 100 fingerprints, 100 passcodes and 100 cards; 9 administrators, 100 users
Cards
13.56 MHz Mifare IC cards (2 included)
App
Tuya Smart or Smart Life
Connection
2.4 GHz Wi-Fi only, no hub required
Power supply
4 × AA (LR6) batteries, up to 12 months; USB port for emergency opening
Doors
40 to 70 mm thick, left or right opening; wood, metal, iron, steel or aluminium
Mortise lock
6068 (24 × 240 mm), included; compatible only with 6068 mortises
Dimensions
375 × 70 × 20 mm
Operating conditions
−20 to +55 °C, 20–80% RH
In the box
Lock, mortise lock body, 2 mechanical keys, 2 IC cards, installation kit, user manual
What you need
The Tuya Smart or Smart Life app, from the App Store or Google Play.
A 2.4 GHz home Wi-Fi network: the lock does not connect to a 5 GHz-only network.
4 AA (LR6) batteries.
A pin or needle for the factory reset.
No hub: the lock connects directly to your Wi-Fi.
Keypad basics
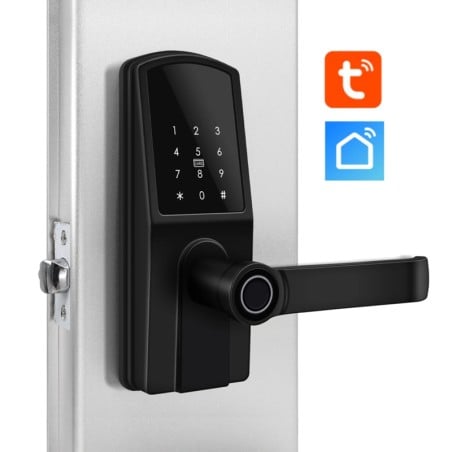
* = back, exit or delete.
# = confirm, enter, or repeat the voice prompt.
To wake up the keypad, press * and then #.
Once an administrator exists, the lock asks you to verify an administrator (fingerprint, passcode or card) every time you open the settings menu.
The voice prompts are in Chinese or English only.
Step 1 – Add the first administrator
A new lock, or one that has just been reset, is in the initialization state, with no administrator.
Press * then # to wake up the keypad.
Register the administrator with a fingerprint, a passcode or an IC card, following the voice prompts.
Press * to go back, or carry on adding administrators (up to 9).
Tip: register a second administrator method, for example a card, so you can still open the menu if you forget the passcode.
Step 2 – Add and delete users
After waking up the keypad and verifying an administrator, the voice menu offers these options:
Key
Function
1
Add a user (fingerprint, passcode or card)
2
Delete a user
3
Lock settings
4
Add an administrator
If, after you verify the administrator, the voice offers only two options (1 = wireless settings, 2 = lock functions), press 2: you get the same options 1 to 4.
Add a user (fingerprint, passcode or card)
Wake up the keypad (* then #) and verify an administrator.
Press 1.
Enter the new user's fingerprint, passcode or card.
When the lock confirms, press 1 to add another user, or * to go back.
Delete a user
Wake up the keypad and verify an administrator.
Press 2.
Enter the fingerprint, passcode or card to delete, or type the user number.
When the lock confirms, delete another user or press * to go back.
Add another administrator
Wake up the keypad and verify an existing administrator.
Press 4 and register the new administrator's fingerprint, passcode or card.
Press * to go back, or add another administrator.
Lock settings: voice, volume, date and time
Wake up the keypad, verify an administrator and press 3 (with the network menu: 2, then 3). Then choose:
Key
Setting
Options
1
Functions
1 = enable double verification; 2 = turn off the anti-lock alarm; 3 = silent mode
2
Volume
1 = louder; 2 = quieter
3
Voice language
1 = Chinese; 2 = English
4
Date and time
Type the date and time in the format 20 + year + month + day + hour + minute; press # to confirm, * to delete
For the date and time, the written steps of the original manual say «Press 4-1», while its diagram shows only 4.
Change the voice from Chinese to English
Press *#, verify an administrator, then press 3, 3, 2. With the network menu, press 2 first: 2, 3, 3, 2.
Step 3 – Connect the lock to the app
Install Tuya Smart or Smart Life from the App Store or Google Play, register with your phone number or email and log in.
Check that your home Wi-Fi works on 2.4 GHz.
On the lock, press * then # to open the administrator menu and verify an administrator.
Press 1 (app / wireless settings), then 2 (delete module), then 1 (add module): the lock is now waiting for the app.
In the app, tap Add Device → Camera & Lock → Lock (Wi-Fi) and follow the instructions.
Wait for the network configuration to finish: it takes about 2 minutes.
Menu names in the app can change with updates: if you do not find Camera & Lock, look for the locks section under Add Device.
In the wireless settings, 1 adds the device (connects it to the network) and 2 removes it (disconnects it).
What you can do from the app
Unlock remotely, with a security password set in the app.
Manage fingerprints, cards and passcodes, also by name, date, time and type of access.
Create temporary or dynamic passcodes for guests, ideal for Airbnb and holiday rentals.
Share the lock with your family in the app.
Answer the doorbell: visitors can send an opening request that you accept from your phone.
How to reset the Tuya smart lock
Use a pin or needle to press and hold the reset key inside the small hole for 5 seconds. All information and records are cleared: fingerprints, passcodes, cards, users and administrators. Then add a new administrator straight away (Step 1).
Common problems
Problem
What to do
The app cannot add the lock
The lock works only on 2.4 GHz Wi-Fi: check that your network is not 5 GHz only. Then, on the lock: *#, verify an administrator, 1, 2, 1. In the app: Add Device → Camera & Lock → Lock (Wi-Fi). Wait about 2 minutes.
The voice speaks Chinese
The voice language is set to Chinese: press *#, verify an administrator, then 3, 3, 2 (with the network menu: 2, 3, 3, 2).
A fingerprint is not recognised
Open with a passcode, card, the app or the key. Then delete that fingerprint (menu 2) and register it again (menu 1).
The batteries are running low
Replace the 4 AA (LR6) batteries.
The batteries are flat and the door is closed
Power the lock from the emergency USB port, for example with a power bank, then open it with a fingerprint or passcode. Or use one of the two mechanical keys supplied.
Press and hold the reset key inside the small hole with a pin for 5 seconds. This clears all fingerprints, passcodes, cards, users and administrators. Then add a new administrator.
Verify yourself with another administrator fingerprint or card, if you registered one. If there is no other administrator, the only way described in the manual is the factory reset, which deletes all users.
No. The lock works with the Tuya Smart and Smart Life apps only: it has no voice control with Alexa or Google Home, it cannot be integrated with Home Assistant and it does not work with Apple Home.
Doors from 40 to 70 mm thick, left or right opening, in wood, metal, iron, steel or aluminium. It uses a 6068 mortise lock (24 × 240 mm), included in the box. If in doubt, send us photos of your door before ordering.